Subir ficheros con CKEditor
En este documento proporcionamos una guía paso a paso acerca de cómo configurar la subida de ficheros tal y como se necesita para nuestros componentes ImagesFromWord y ImageCrop.
Comenzamos con un CKEditor limpio, sin nada más instalado. Puede crear su propia versión o descargar una de ckeditor.com/download, necesitará al menos la versión "standard" o crear una con los componentes "image" y "filebrowser" incluidos.
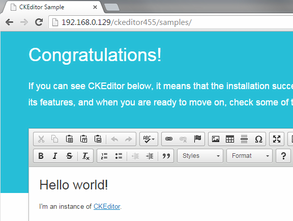
Tras extraer los contenidos en su servidor, debería poder cargar la carpeta samples/ en su navegador y ver la página de demo:
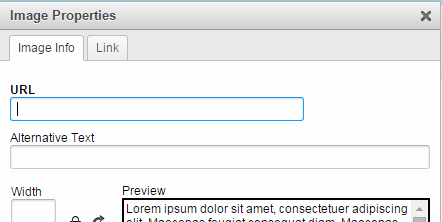
Ahora pulsamos en el botón de Imagen y vemos que no está disponible la opción de subir nuestras imágenes
Por tanto hemos de editar el fichero config.js e indicar a CKEditor cómo subir ficheros con la opción config.filebrowserUploadUrl:
Editamos el config.js situado en la raíz de la carpeta CKEditor y añadimos la ruta a nuestro controlador que gestionará las subidas de ficheros:
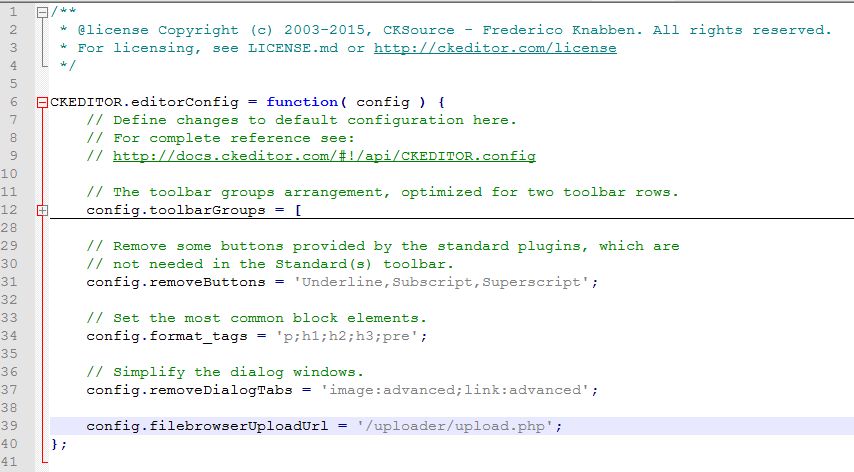
En este caso simplemente hemos añadido esta linea:
Puede usar cualquier ruta que quiera usar, y por supuesto debe usar el tipo de script adecuado a su servidor. Grabamos los cambios y verificamos que CKEditor reconoce la nueva opción (puede necesitar borrar la caché dependiendo de su navegador):

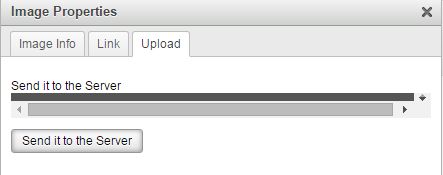
La nueva pestaña Upload/Subidas estará disponible, así como el botón para elegir un fichero y subirlo al servidor.
Ahora puede intentar usarlo, pero por supuesto fallará debido a que hasta el momento no hemos añadido el script al servidor.
Obtendrá un error nada amigable ya que no podrá verlo:
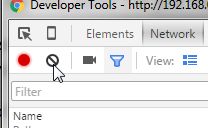
Vamos a usar por tanto las herramientas para desarrolladores para ver que está sucediendo. Pulse F12 y seleccione la pestaña Network/Red
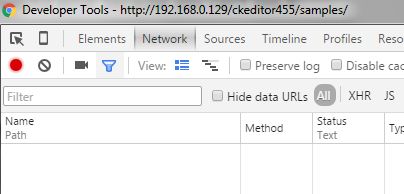
Cierre el diálogo de imagen y ábralo de nuevo para volver a intentar subir una imagen:

Aquí podemos ver directamente en el Status que el servidor ha respondido con un 404 - File not found y podemos hacer clic en él para ver sus detalles:
.jpg)
Esto puede ser útil si tras añadir el fichero todavía obtiene un 404, tal vez la forma en que ha configurado la ruta no se corresponde con el valor que ha indicado en el fileBrowserUploadUrl.
Por tanto ahora necesitamos un fichero de gestión de subidas, puede enconrar varios en el repositorio CKEditorUploader Puede descargarlos todos o solo aquel que le interese. Estos son scripts de ejemplo, su objetivo es solamente proporcionar los elementos básicos para mostrar cómo gestionar una subida de ficheros del CKEditor, pero puede usar cualquier otra cosa con tal de que siga el API de CKEditor.
Verifique las instrucciones de instalación proporcionadas.
You have to copy the upload.php to the path that we have chosen and you might need to give execution permissions just like any other script on your server.
Now we have to configure it according to your server and your CMS as the install instructions state.
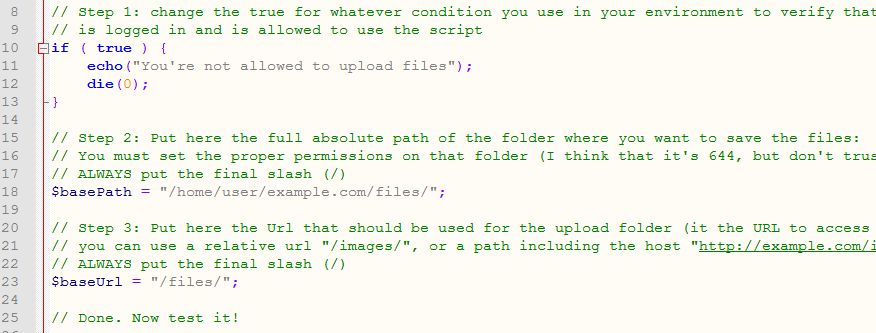
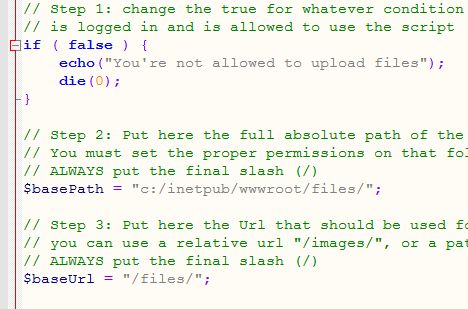
In the first step we should add the same session check that we use in the rest of our CMS to verify that only authenticated users are allowed to upload files. For this demo I'm just toggling it to false (don't do this in production).
The second step is to write the absolute path to the folder that will store the uploaded files. You must grant Write and Read permissions, but you must also try to prevent the execution of any script there.
And the third one is to provide the base URL that can be used to load the files from that folder.
Save it and now we can try again to upload a file. Close the image dialog if you still had it open and launch it again, select an image and click the upload to server (you might want to clear the Network tab of the developer tools to avoid confusion with the previous data)
If all works correctly the image should be uploaded. In my case as I'm using a clean server it turns out that I still haven't configured PHP so I'm getting a 405 error:

So now it's time to enable execution of that PHP script. After adjusting the server I try to load an image and this time the server sends back the correct response and CKEditor switches automatically to the Image Info tab, but we can see on the preview that the image doesn't work
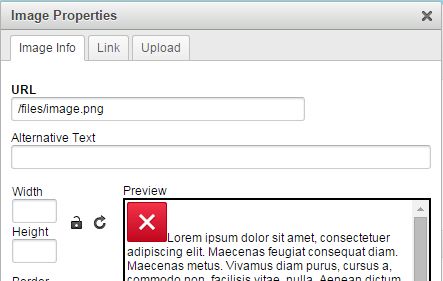
So we must verify now that the /files/ folder (or whatever that we want to use) exists on the server and it has write a read permissions, if the image.png file isn't there then that means that we must focus on the permissions and we might need to enable the debug options to find out what's going on.
You can also test with any other script to verify that you can write from PHP on that folder, whatever it's better for you.
In order to debug the PHP script you can add this headers
ini_set("display_errors", 1);
error_reporting(-1);
Also, try with different images just in case the browser is using a cache at any time.
When the image is finally uploaded then we have finished:

Now you can add the plugins that we provide to crop the images or import them from Word documents.